
🔨 TranslaThor
Project creation
TranslaThor, or in more general terms, universal translator, is an AI product that makes translation even easier using EdenAI. The selection of the right provider depending on the source language and target language is done automatically.
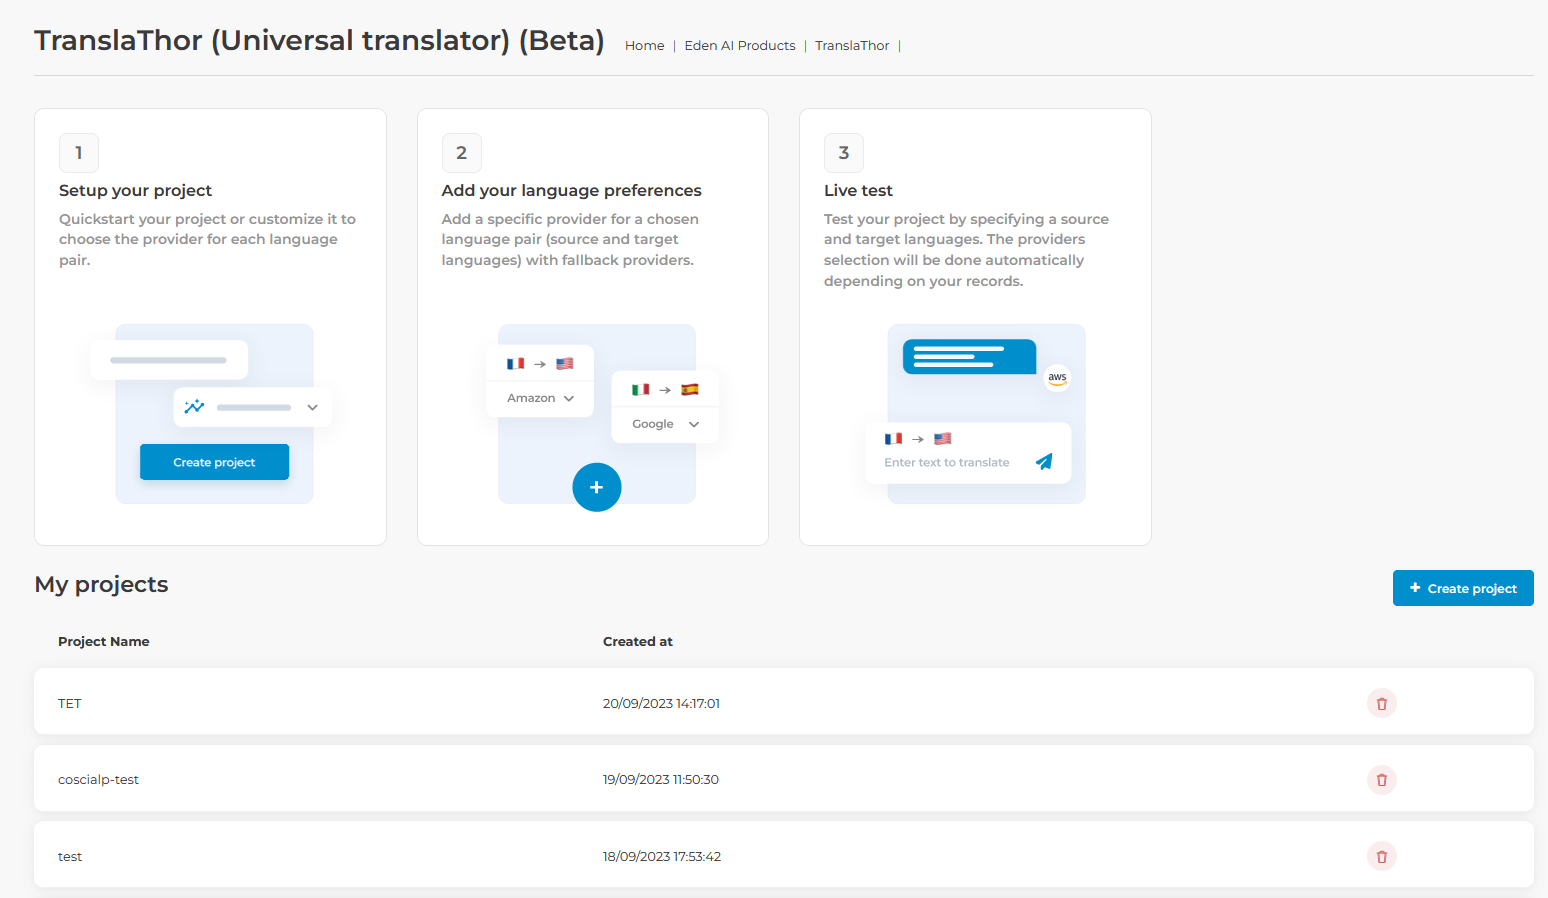
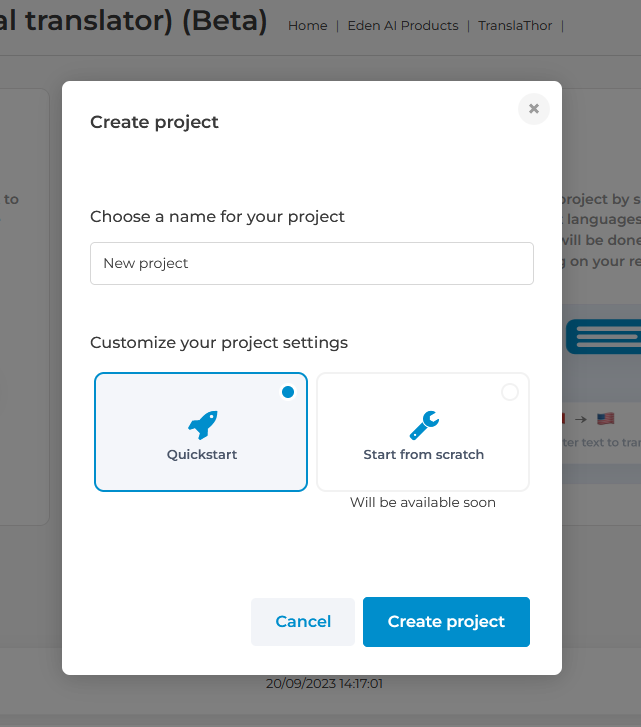
We start first by creating a new project, and this, by specifying a project name. The project name must be unique for each project creation. Users can have multiple TranslaThor projects.
Once the project is created, users can start to add/delete their language pair preferences. By default, a first language pair is added. It means that Google will be used as a provider when a translation from English to French is made.
Adding language preferences
Users can add multiple language pairs (combination of source and target language), these language pairs will be used to determine which provider to use in any translation. Let’s for example add a new language preference which uses Microsoft as a provider for any translation from Any source language to English. We will also consider Google then Ibm as fallback providers in case of a call error.
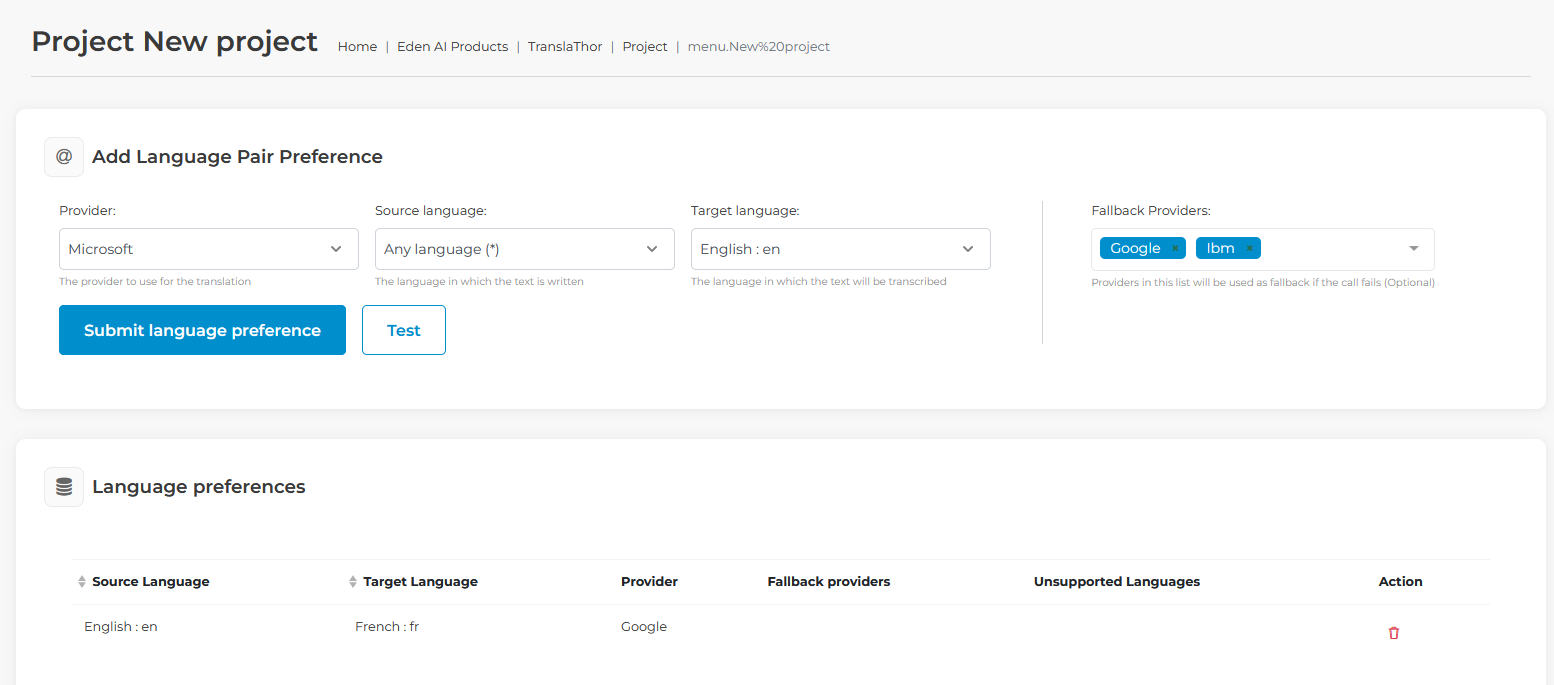
Before confirming your language preferences, you can click on test, which will open the translation features, and give you a hand to test your language pair within all the available providers.
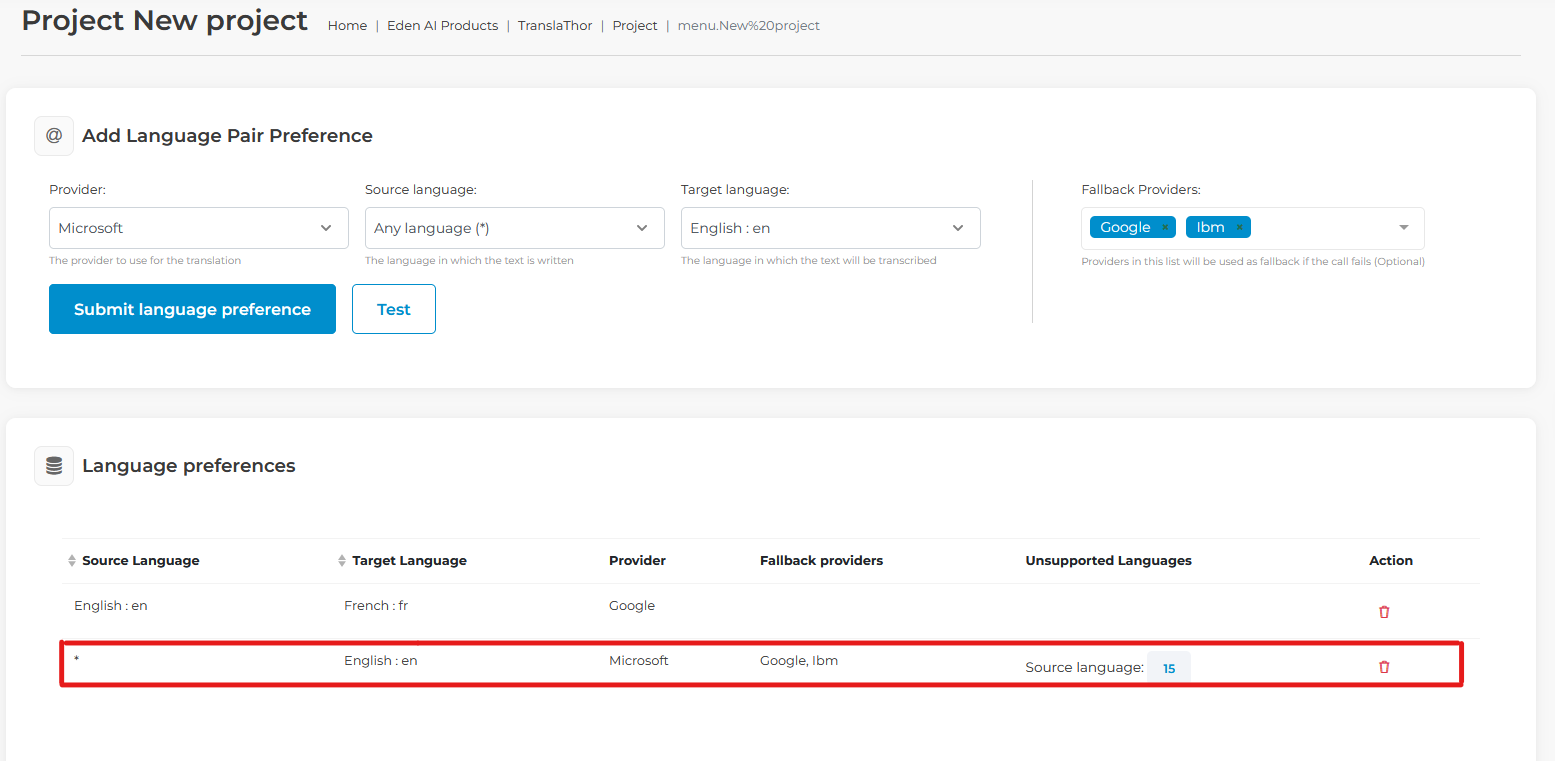
After adding this language preference, we can check that it is correctly added within our project.
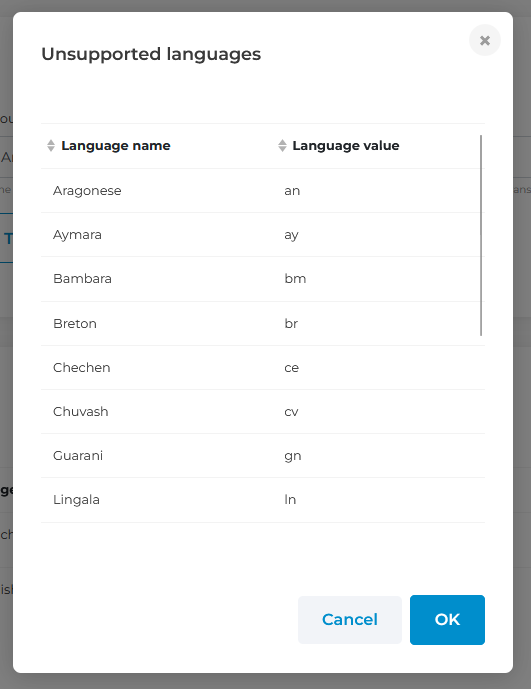
As we defined that for any translation from any language (source language) to English (target language), we will be using microsoft, with Google and IBM as fallback providers. We also provide a list of languages that Microsoft and the fallback providers may not be able to process as a source language, which will result in an error. The list of Unsupportable languages shows in this example 15 languages that Microsoft, Google and IBM can not handle. When clicking on the number, a detailed list of these languages will appear on a modal.
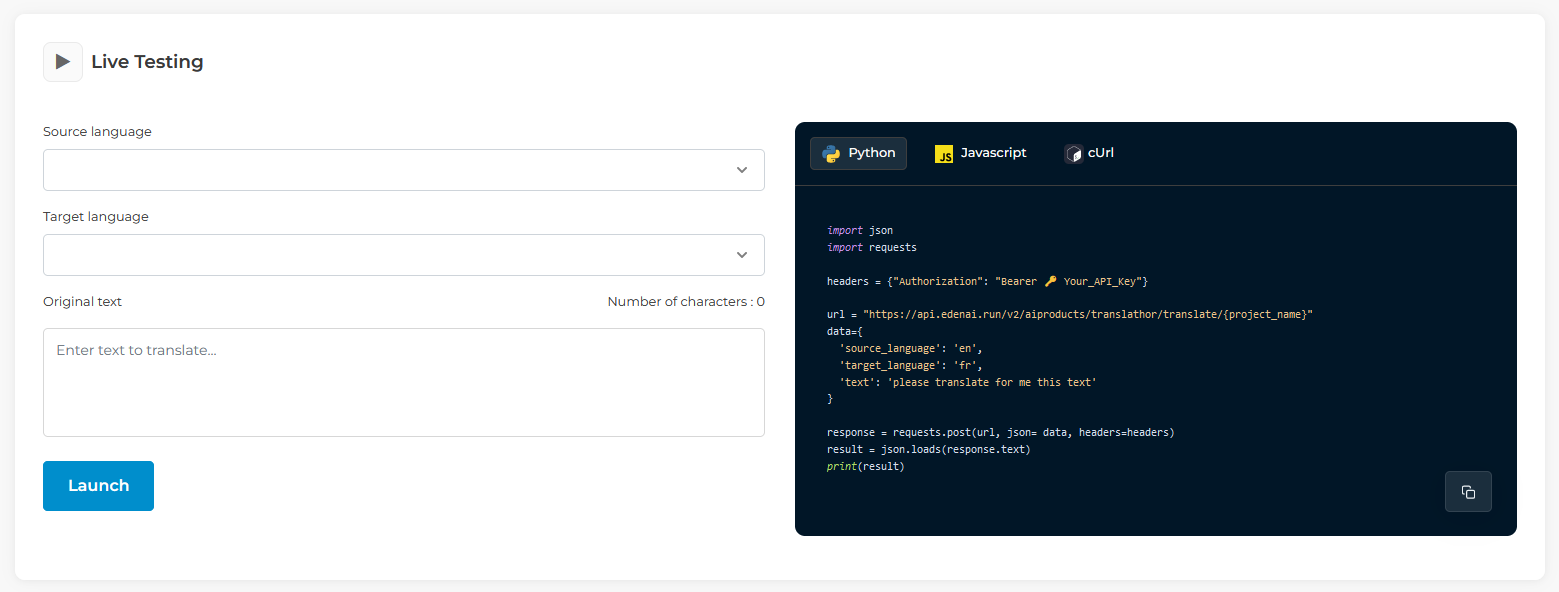
Live testing
Now that we added our language preferences, we can start testing our project. We will try to translate from French to English. The provider that will be used should be Microsoft.
Using the API
Now that your language preferences are added, and we tested that everything is ok, we can now start using the API for our calls. Copy and paste the code snippet available in the Live Testing section depending on the programming language you use. Fill in the source and target language for your translation, the text you want translate, and perform your request.
Updated 3 months ago