Custom Text Classification
Create a project
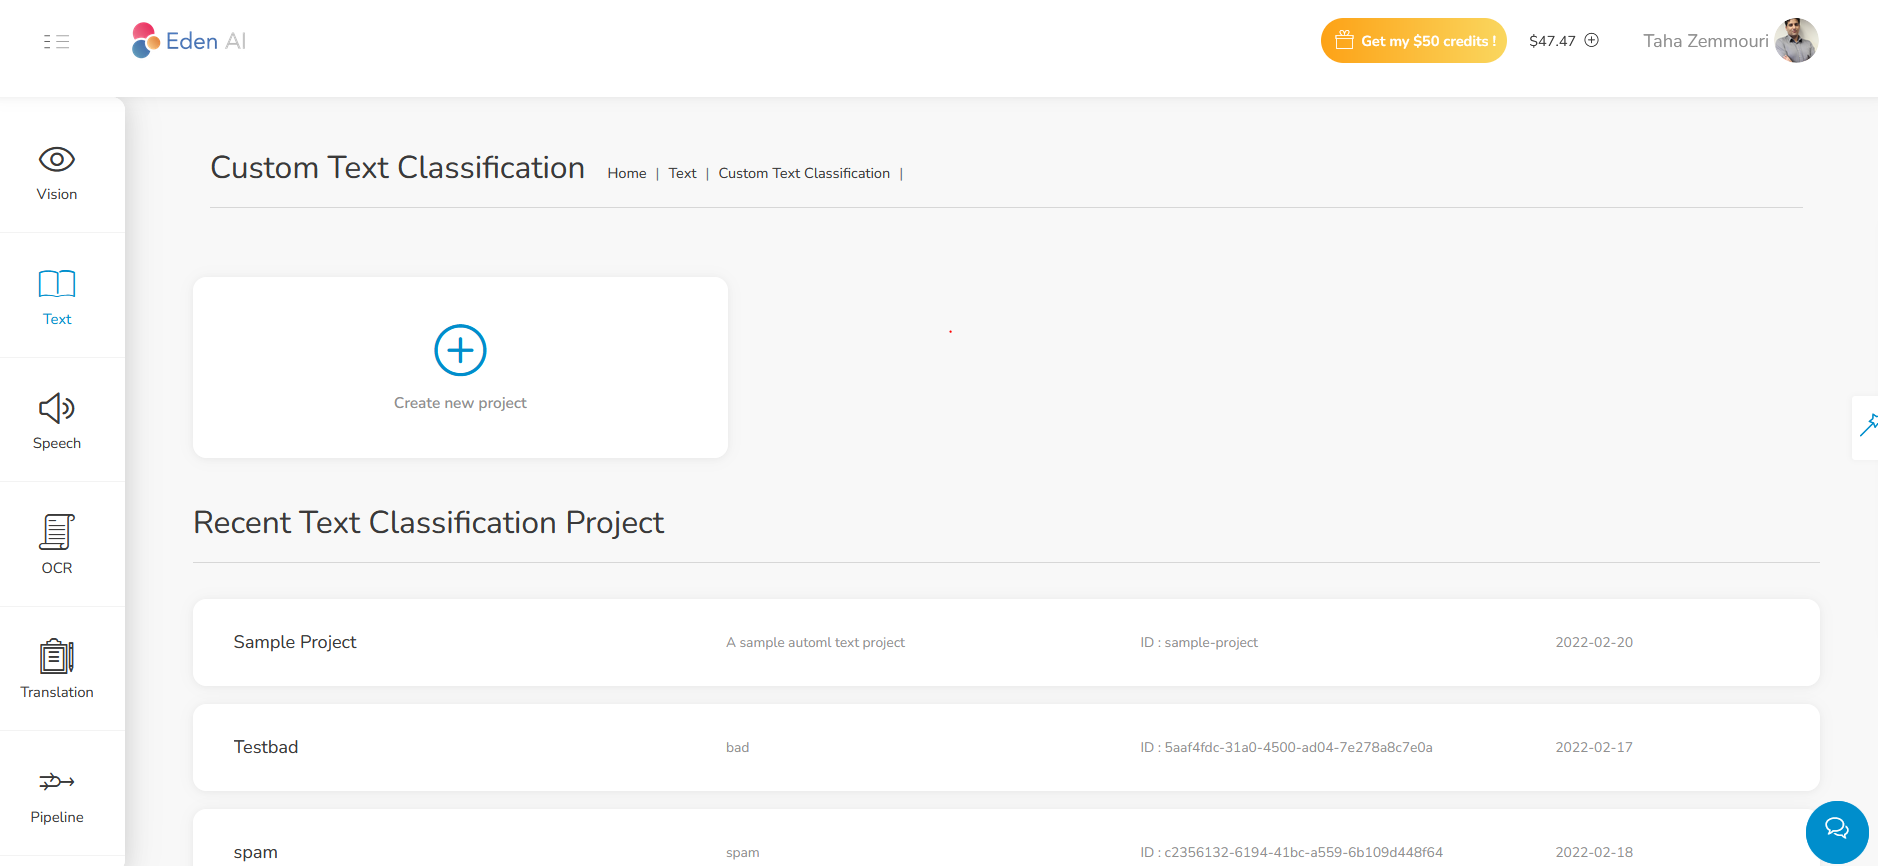
Then you will need to enter informations about your project:
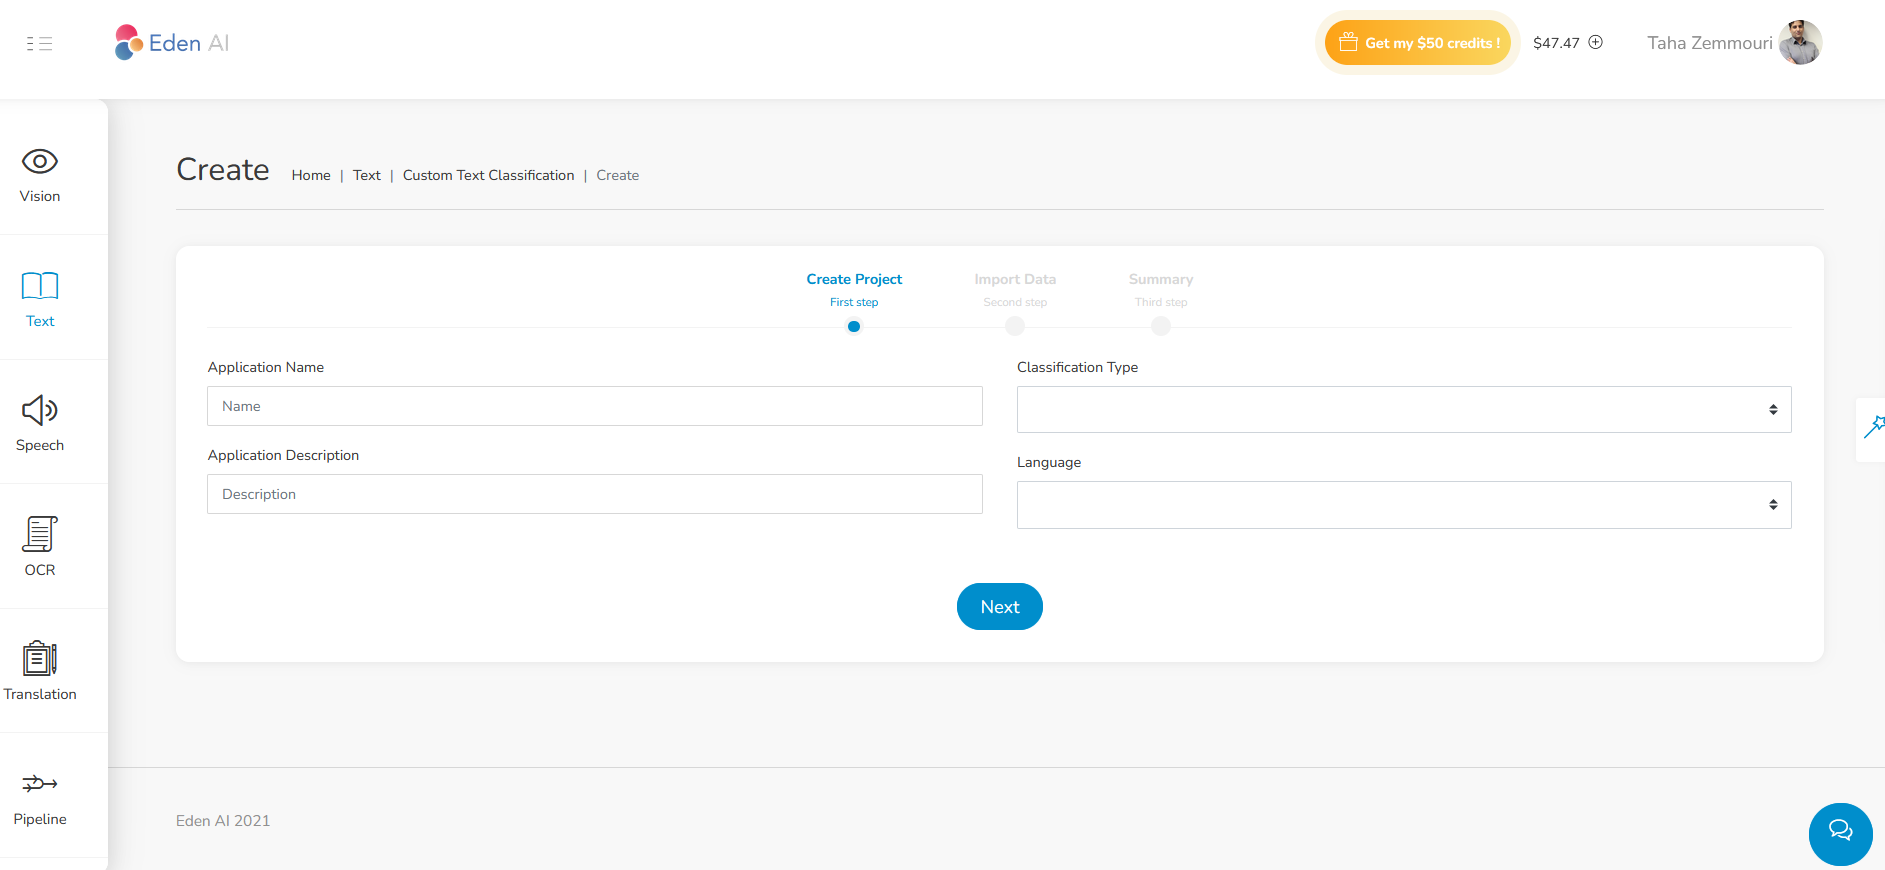
- You need to name and describe your project. It will allow you to find it back among all your projects.
- You need to select the classification type. There are two types of classification:
- Single label means that each text / document belongs to one class(label)
- Multi label means that multiple classes (labels) can be associated to a unique text / document
- You need to select the language of texts. In case there are multiple languages, we advise you to split your data by language and build a custom text classification project for each language.
Import your data
Once you have entered the main informations of your project, you need to import a dataset. This dataset is the data that will be used to train the model. The provider's text classication models will learn from your data in order to build a custom model that can classify your texts / documents.
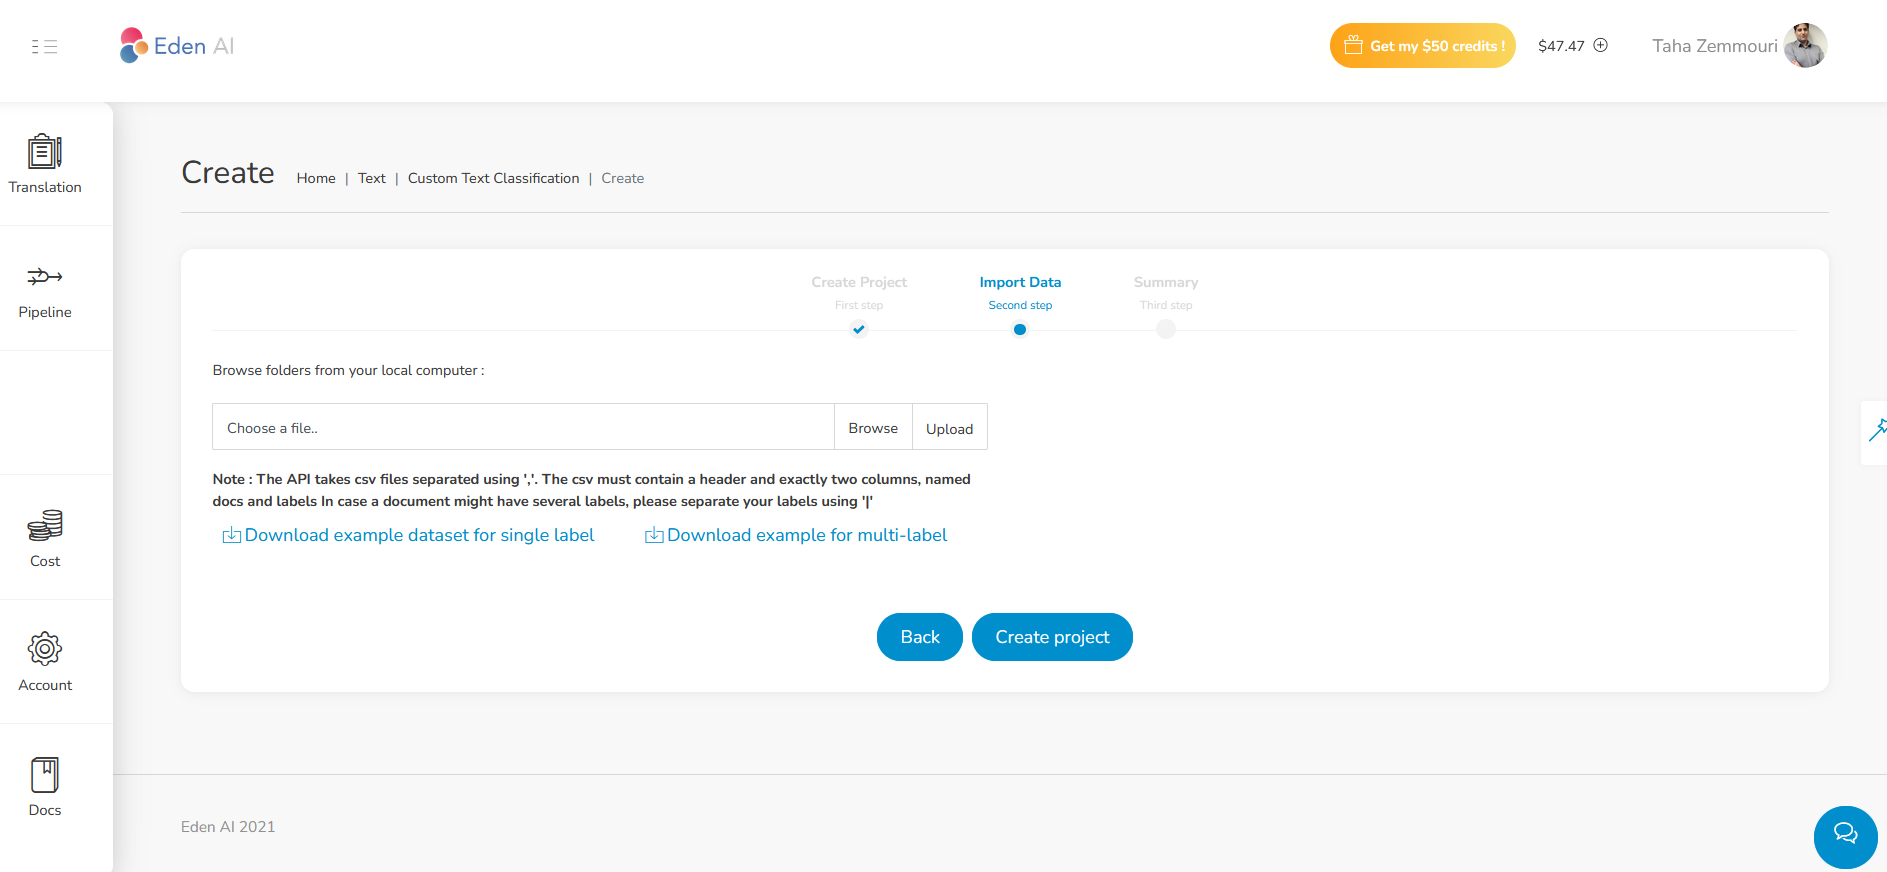
You need to import a csv files containing two columns : one with text and the other one with the labels (classes) associated.
The csv file must be with separator coma: ','. The csv must contain a header and exactly two columns, named docs and labels. In case a document might have several labels, please separate your labels using '|'.
Here are examples of csv files for signe and multi label:
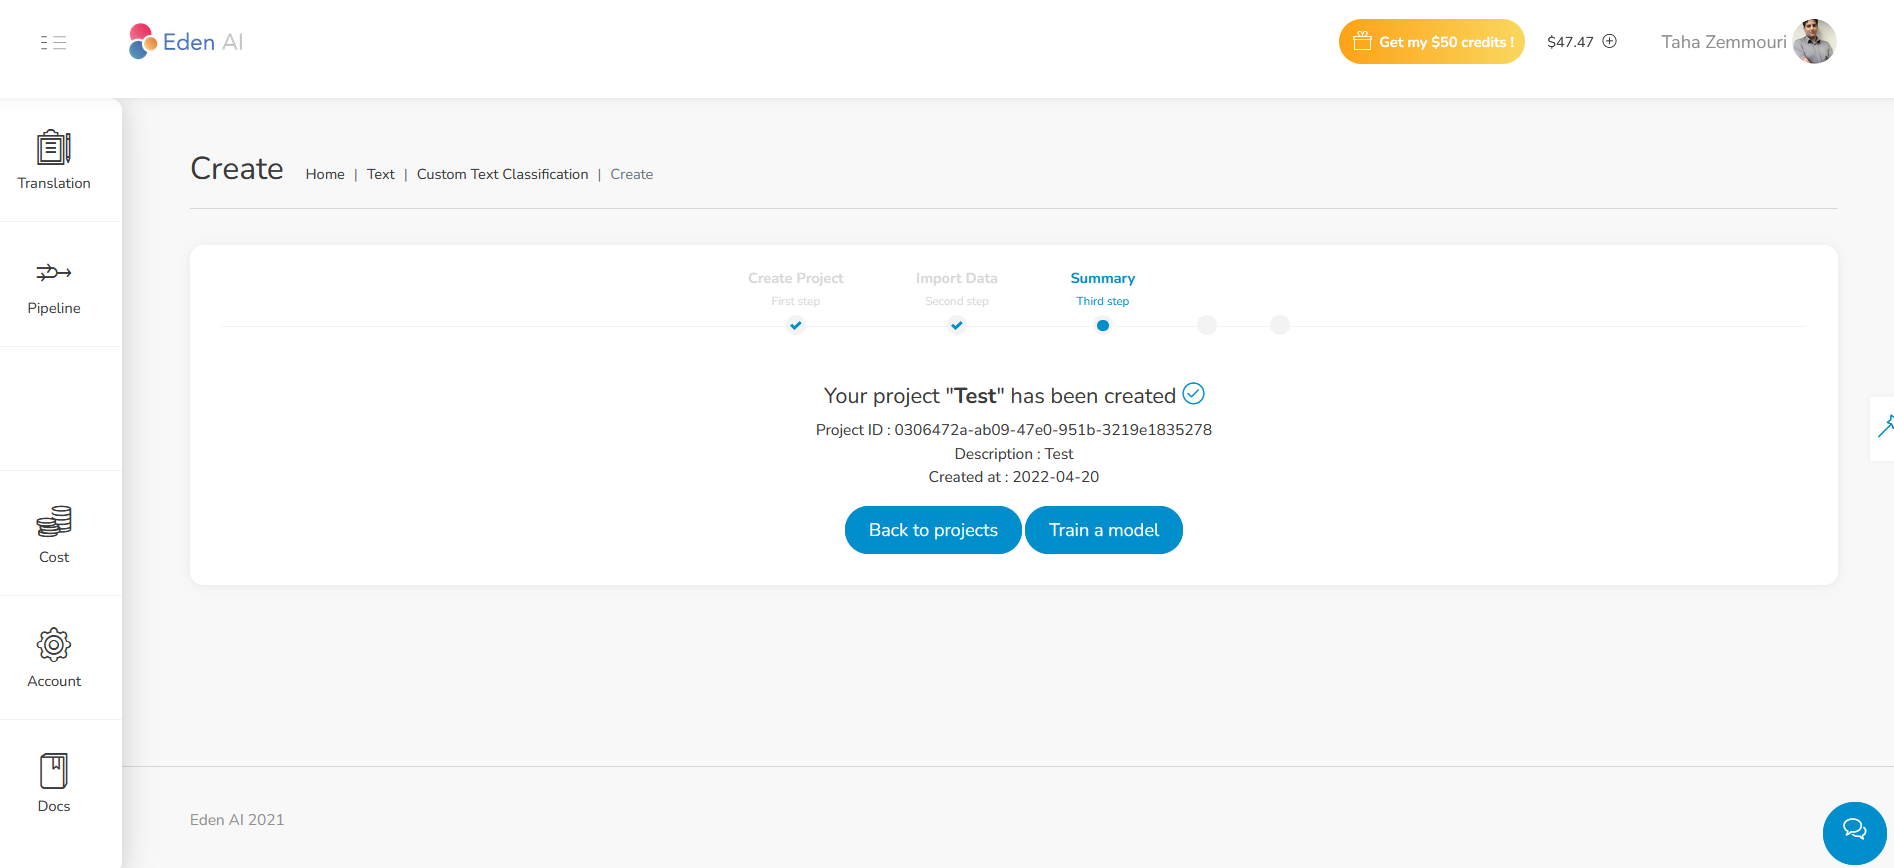
Once you have imported a correct csv file, you will be able to click on Create project button. You will see a summary of your project informations:
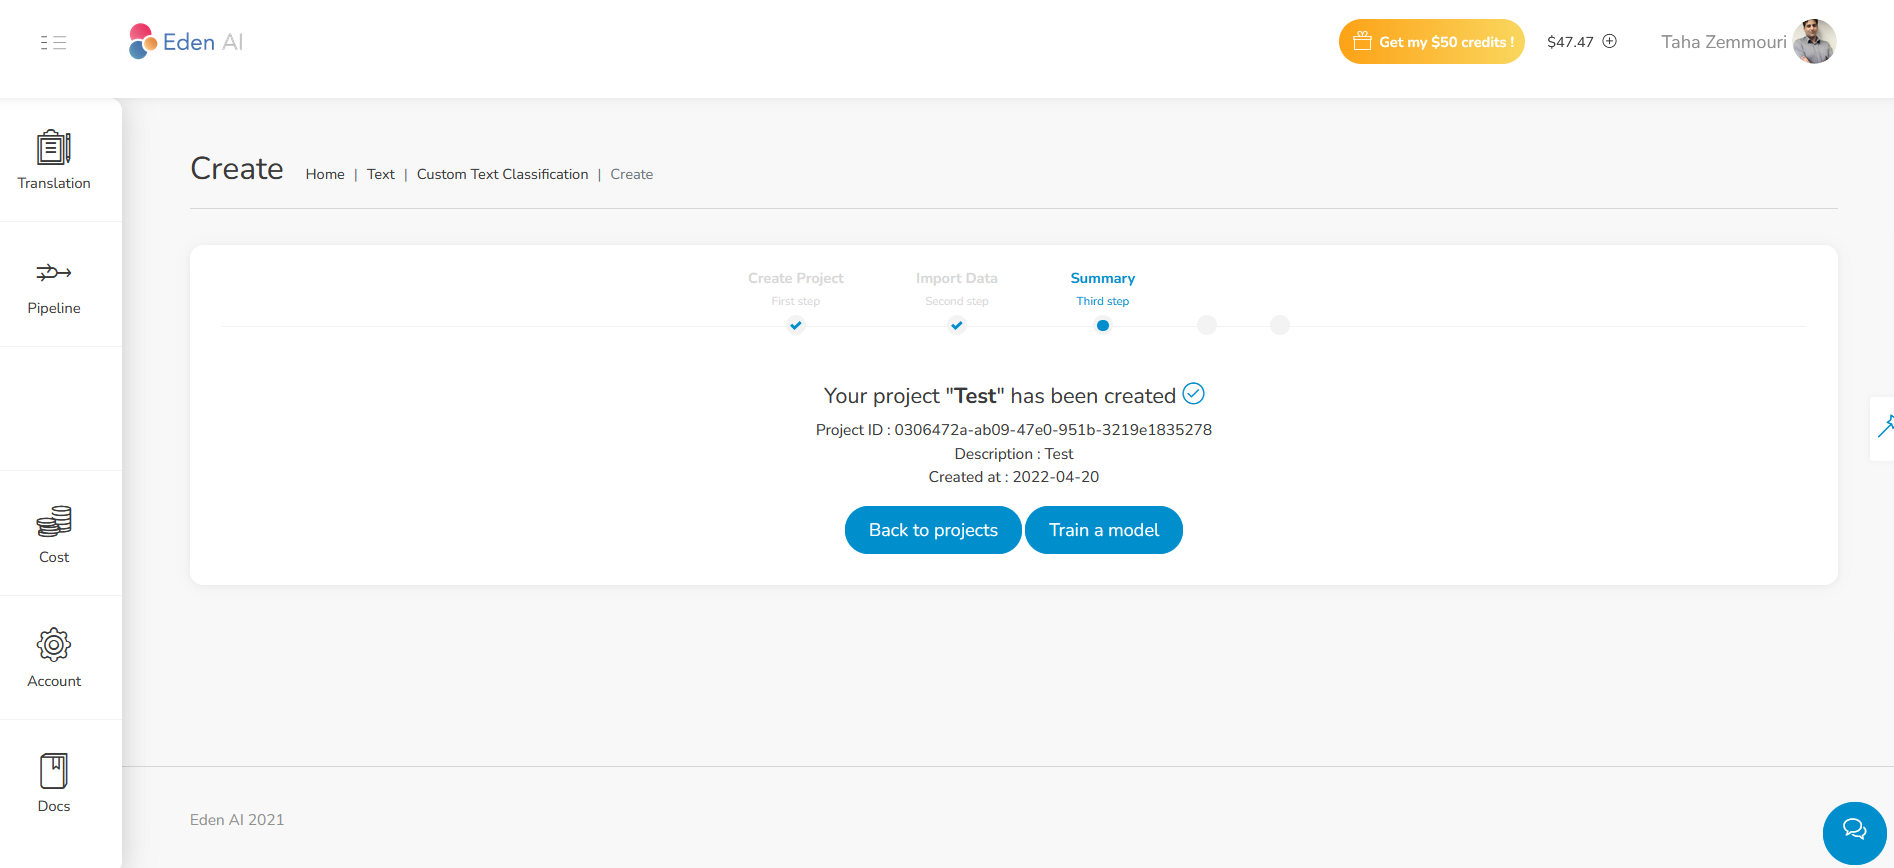
You can click on "Train a model" to be able to train your model and perform predictions.
Launch a model training
You can launch a training from a project (which includes a dataset). You have two ways to do it:
- After creating your project, click on Train a model button
- On the custom text classification homepage, click on the text classification project you want to work with
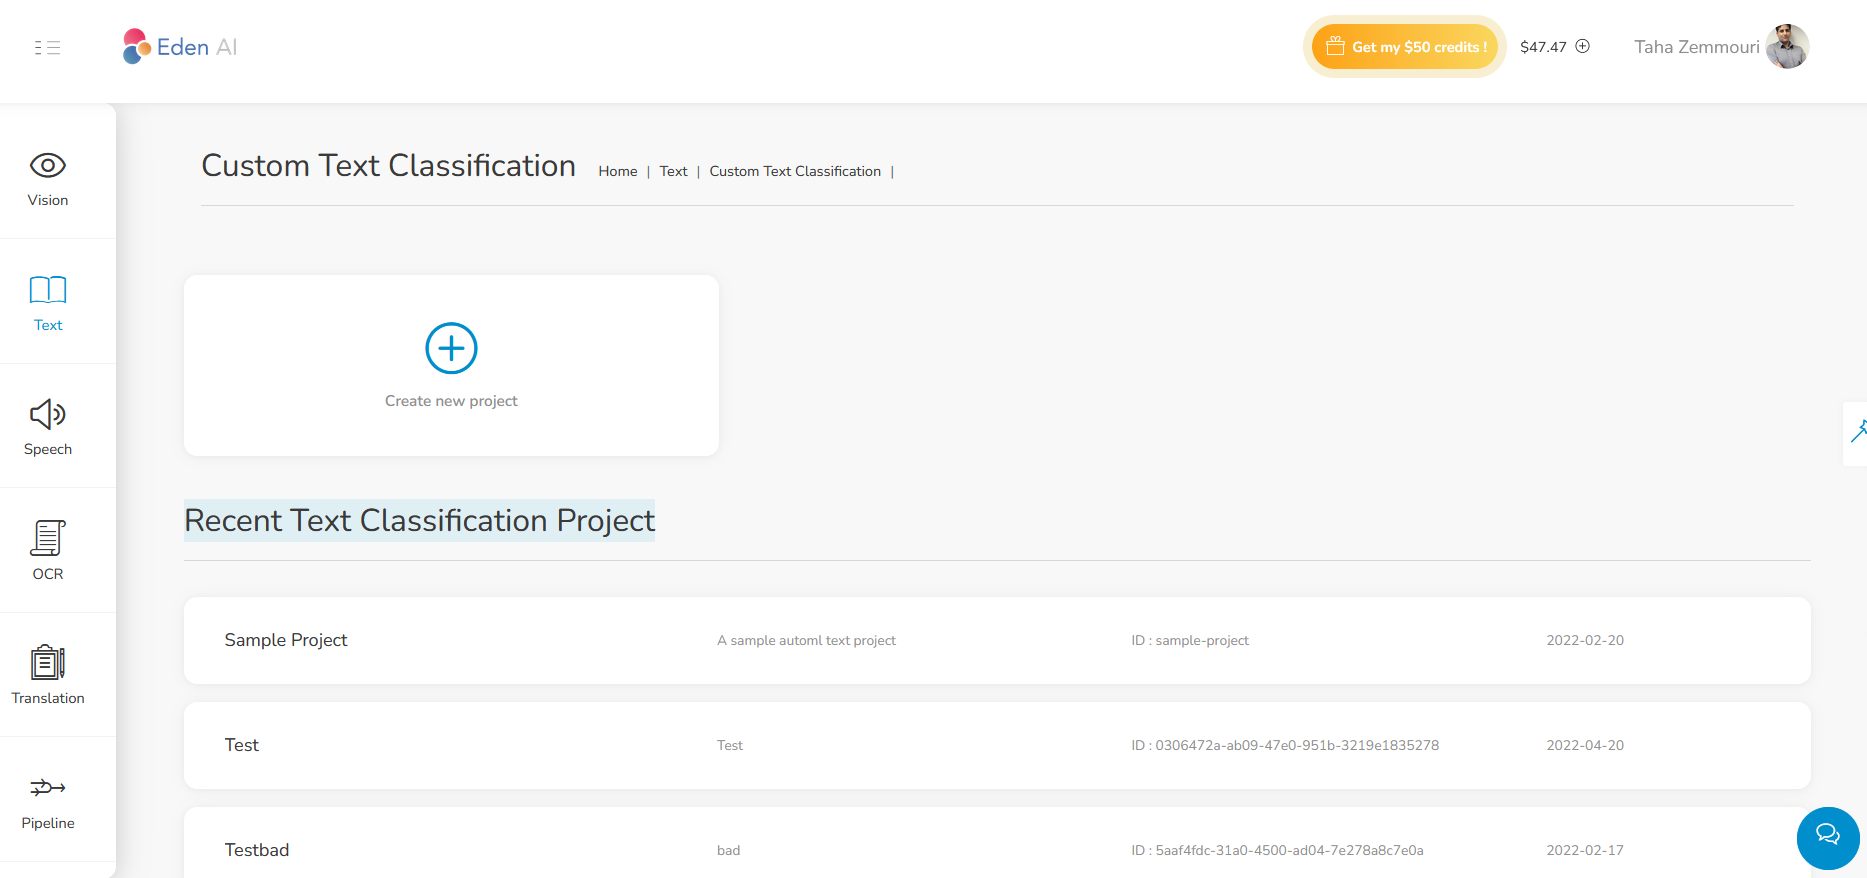
You are now on the homepage of your project where you can launch a model training or access to a model already trained.
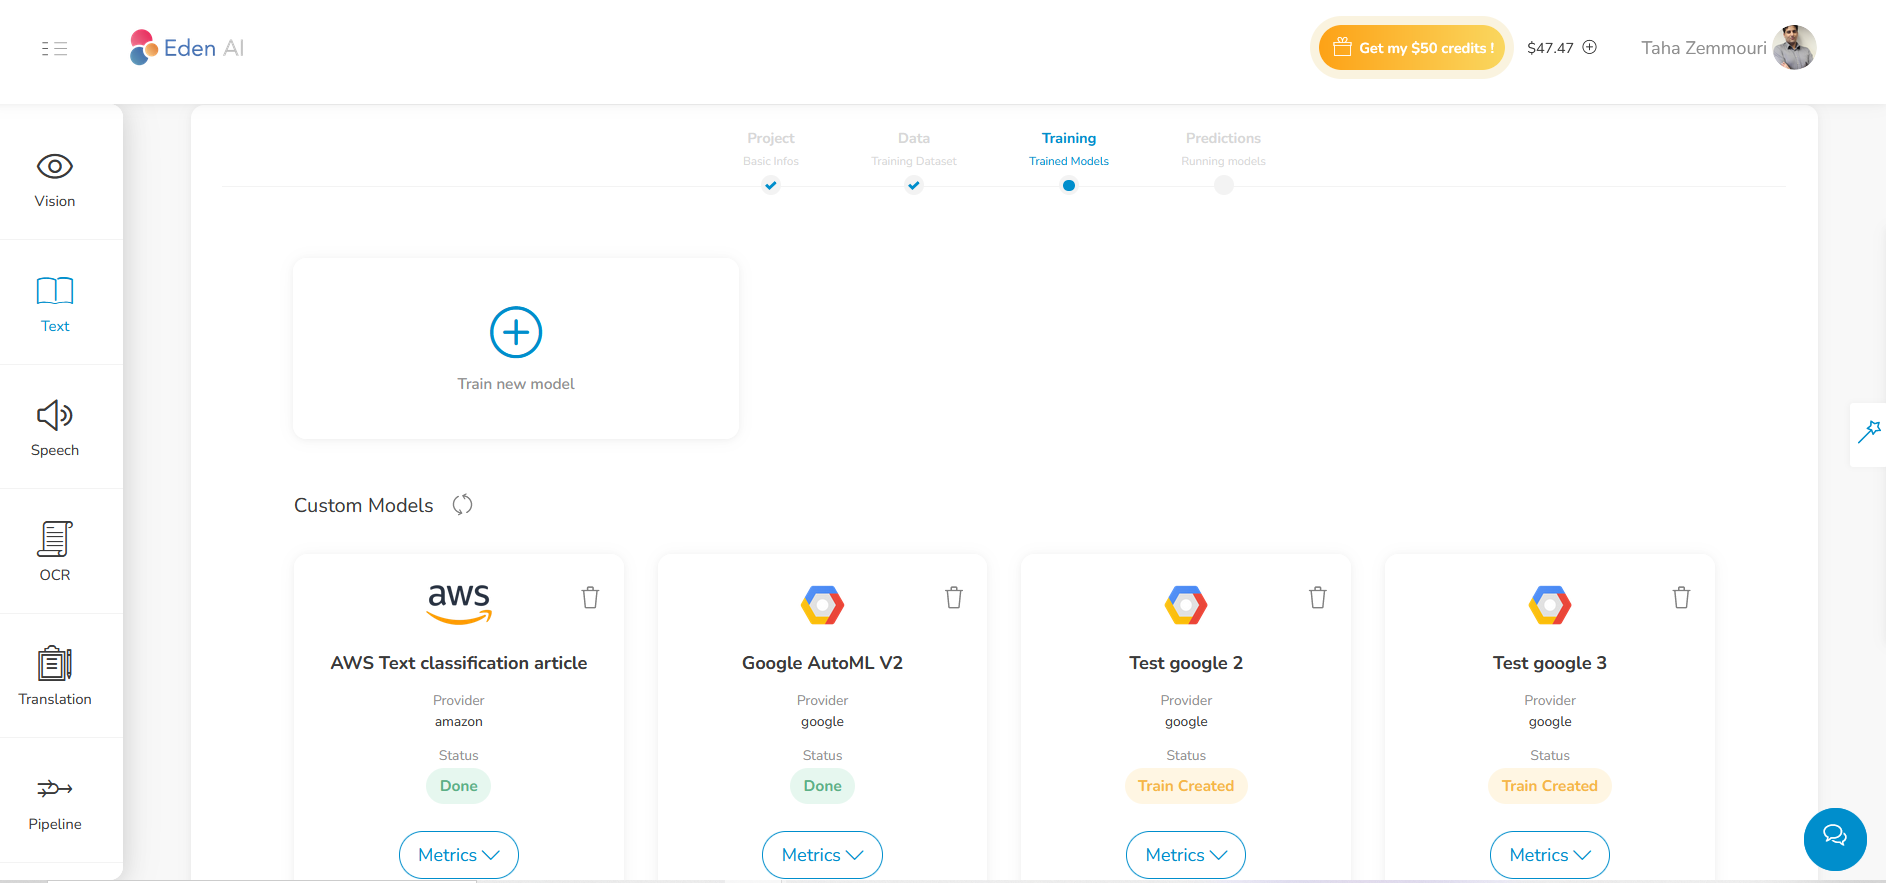
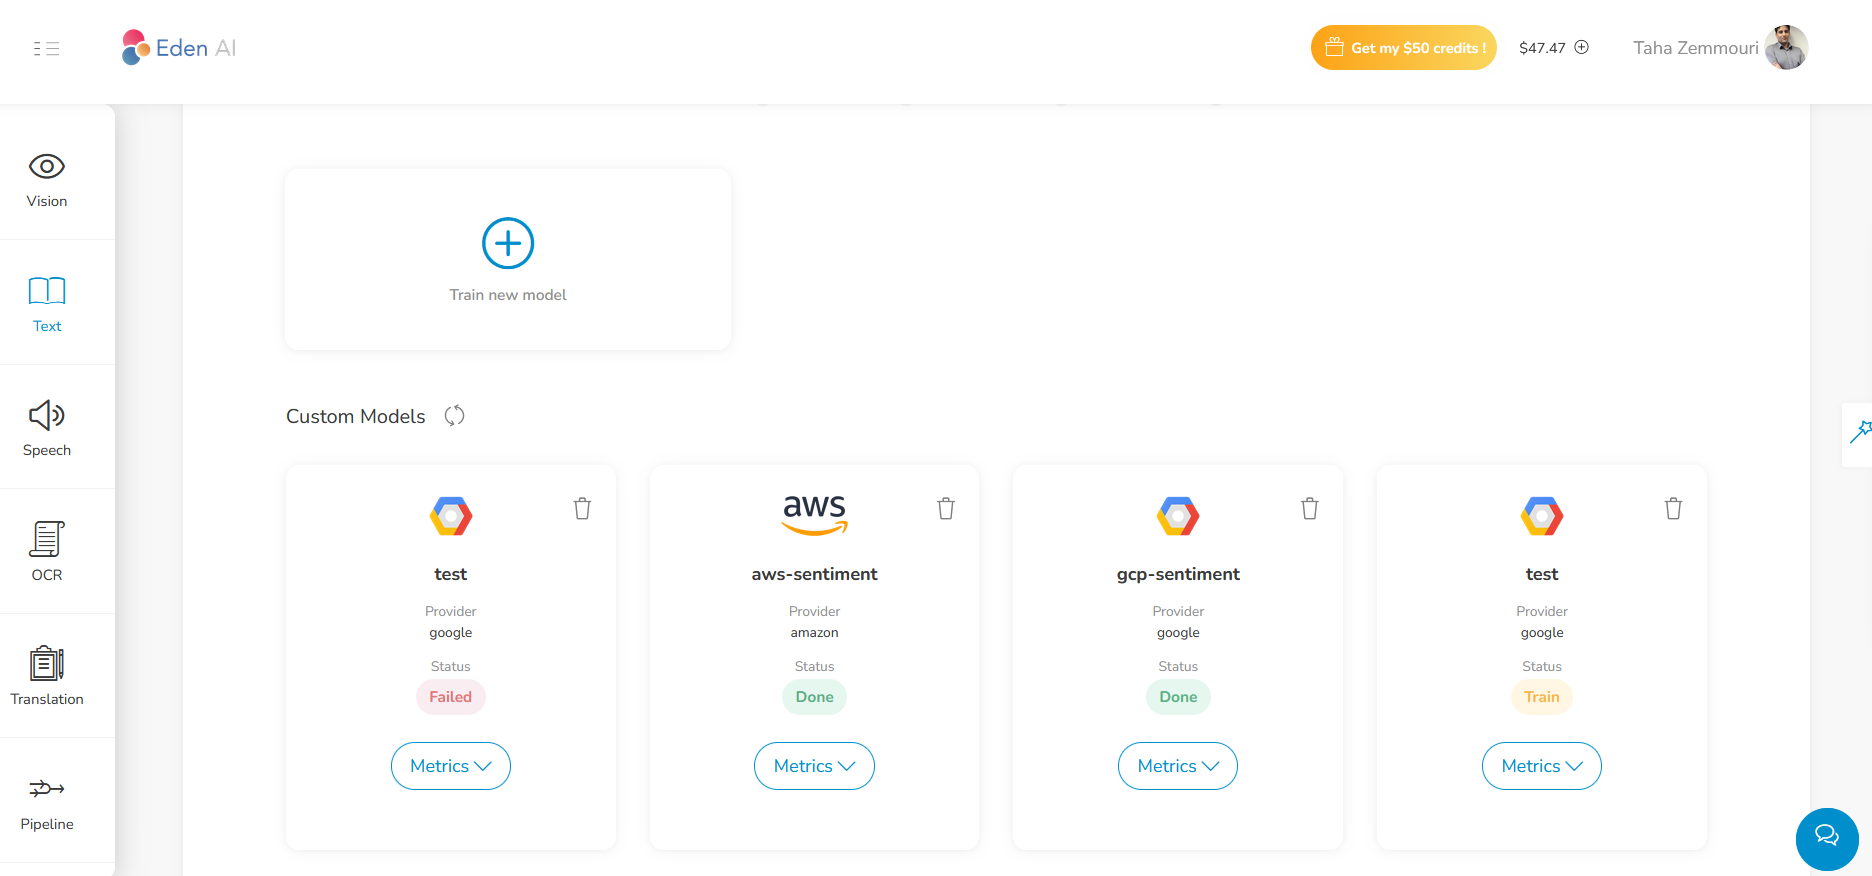
To train a model, you just need to click on "Train new model" button. Training a new model just means that you want to choose a provider to train a model based on your data.
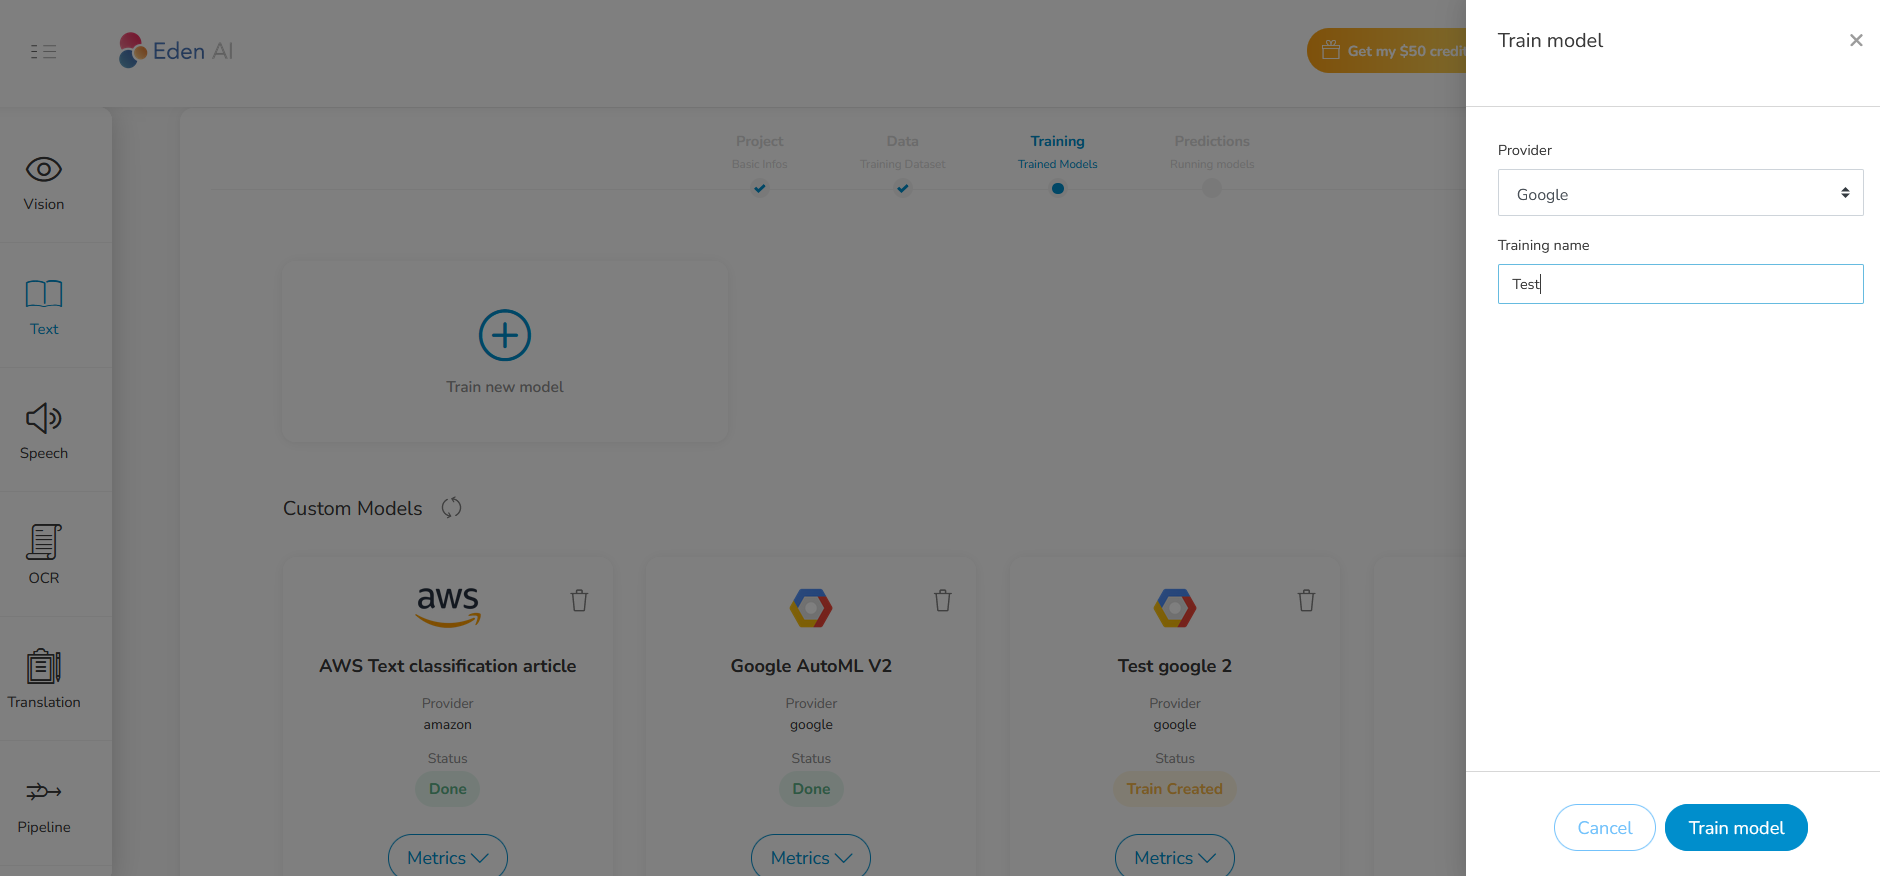
Once you have chosen the name and provider, you can launch the training. A card with your model appears with the status : Train.
Use your model to make predictions
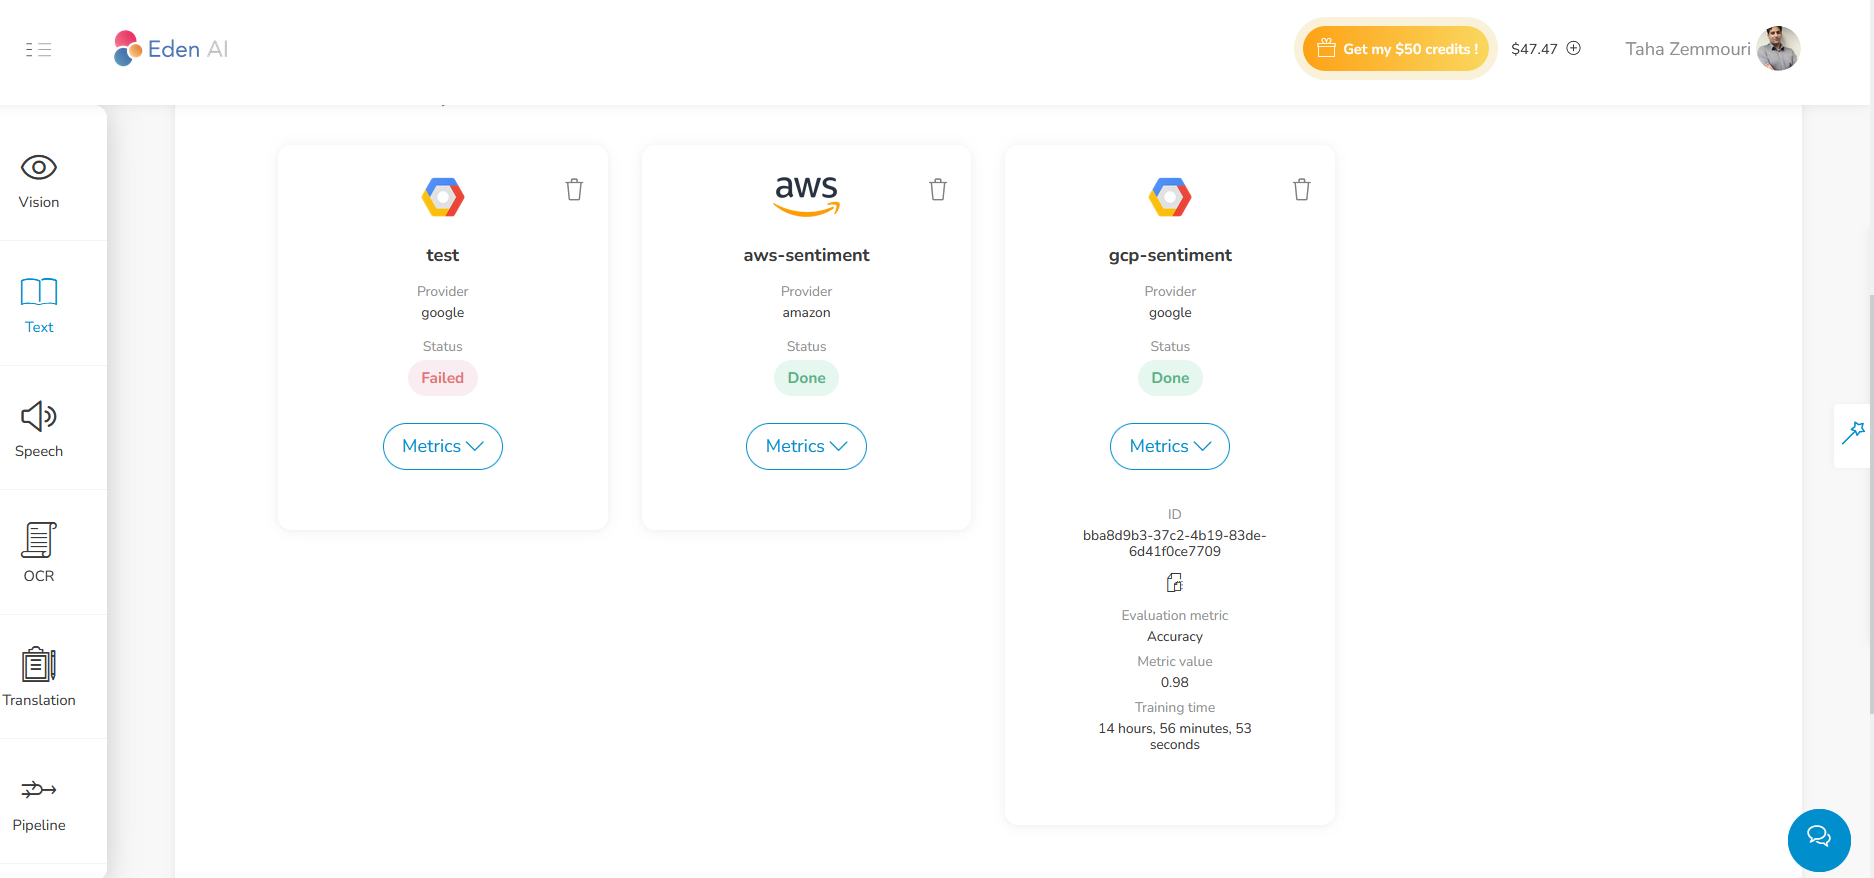
Once your model training is completed, the status will change to Done. You can now click on Metrics to see execution time, ID, metric value.
If you click on the card of your project, you will be redirected to the prediction page. This page allows you to launch a prediction and see your past predictions.
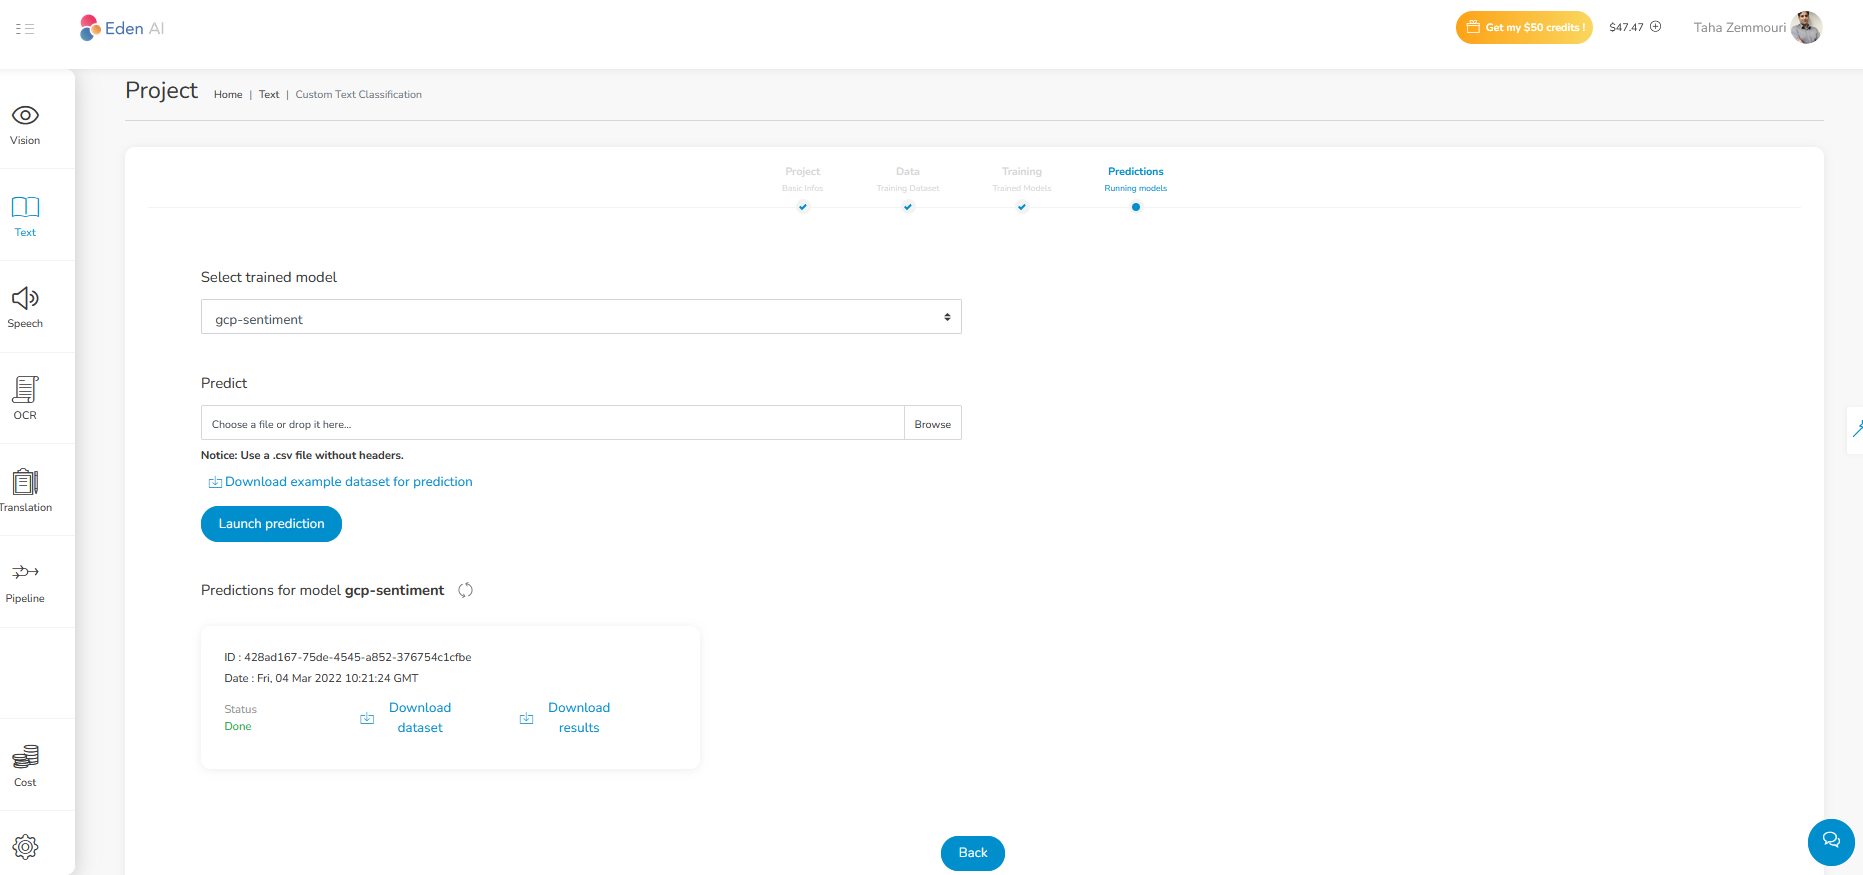
From this page, you can
- select the model you want to use to perform prediction
- launch prediction by importing a csv file that must contain only a column with texts to classify and no header
- consult past predictions files
Here is a example of prediction csv file:
Once you have launch a prediction, a card of your prediction will appear with status Running.
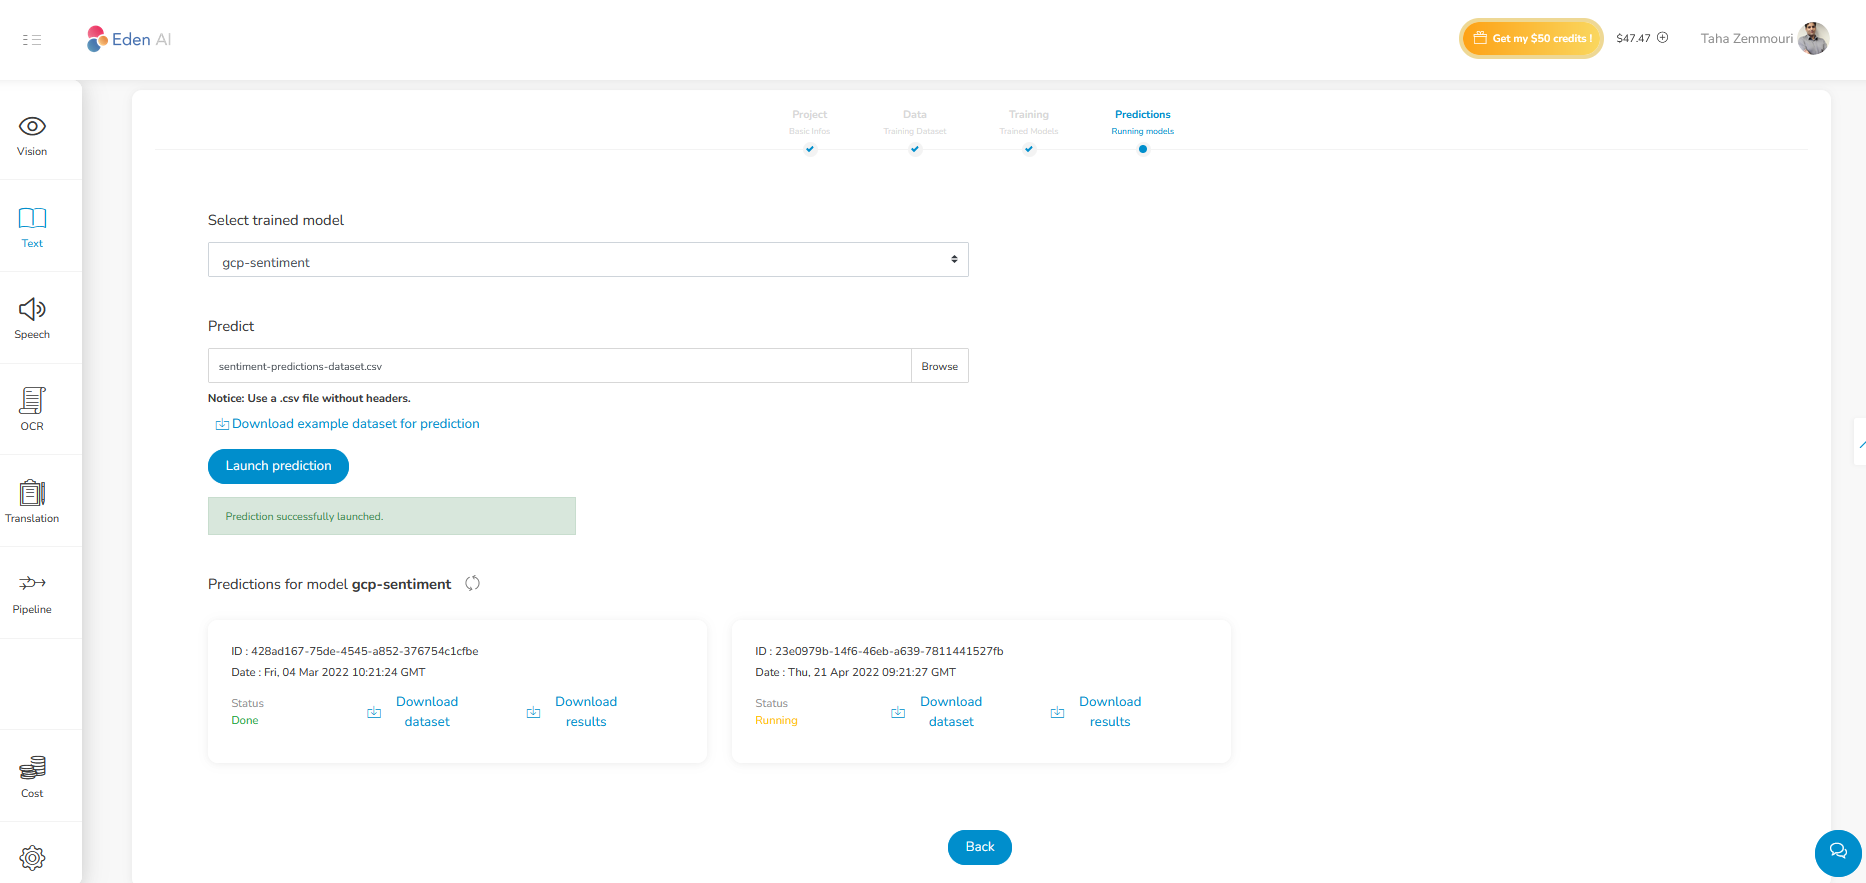
Once the status mooves to Done, you will be able to see the prediction generated by the model.
Updated 8 months ago
